Monday, 14 August 2017

Cardboard play clock


Hello crafters,

Here I am again with my super easy learning DIY toy for learners.  

Thing you need:

1- Any piece of cardboard
2- Craft knife
3- Colour papers or paint
4- Empty lids ( I have used milk can lids)
5- Self adhesive numbers
6- Marker or pen
7- split pin
8-  I used duct tape to cover the frame ( optional)

As you can see it is super duper easy DIY, all you have do is sticking and cutting.
Use the lids to make a circle and then cut it with the help of craft knife.
Put the numbers on the lids.
Mark the "to" and "past".
Put the needles with the help of split pin.

BINGO! 

Your Play DIY clock is ready :-) .


Friday, 6 January 2017

A very easy cheap and organised way to store shoes- Cardboard Shoe rack

       
Hello crafters,

When you live in small house it's a task to arrange your things in place. I love to buy different type of shoes and for me, the biggest task is to arrange shoes,

Not only for shoes, if you live in small apartment building or even a normal family home you just won't escape from the storage problem. Many stores have lot of items that can give you help with the storage issue, but most of the items involves buying expensive storage items that probably might not need and wont help you much. In order to counter that I made few of  other sleek, foldable and strong cardboard items such as Spiderman table for spiderman fan, Giant cardboard almirah with cubboards, all purpose shelfs, little foldable table and many more. 


So, here I am back again with spacious cardboard shoe rack, which is proved to be a lovely house of 35 shoes, with lots of attachments, adjustable spaces and doors. It is very sleek shoe rack with 5 top shelf covered with doors with 10 sections. 2 shelfs to put socks in and lower shelfs with customised soaks for wellington. 

Things I used:-

1) lots of cardboards
2) Glue/ Glue gun
3) Craft knife
4) Paper/duct tape to decorate
5) Drawer magnets
6) cable tie


5 of these cardboard sheets, please note each sheet is made out of 3 layers of cardboards to give it a strength.


fix these sheet in the almirah 


Middle sheet to make section and strength 


Fix middle sheet  in to make 10 sections


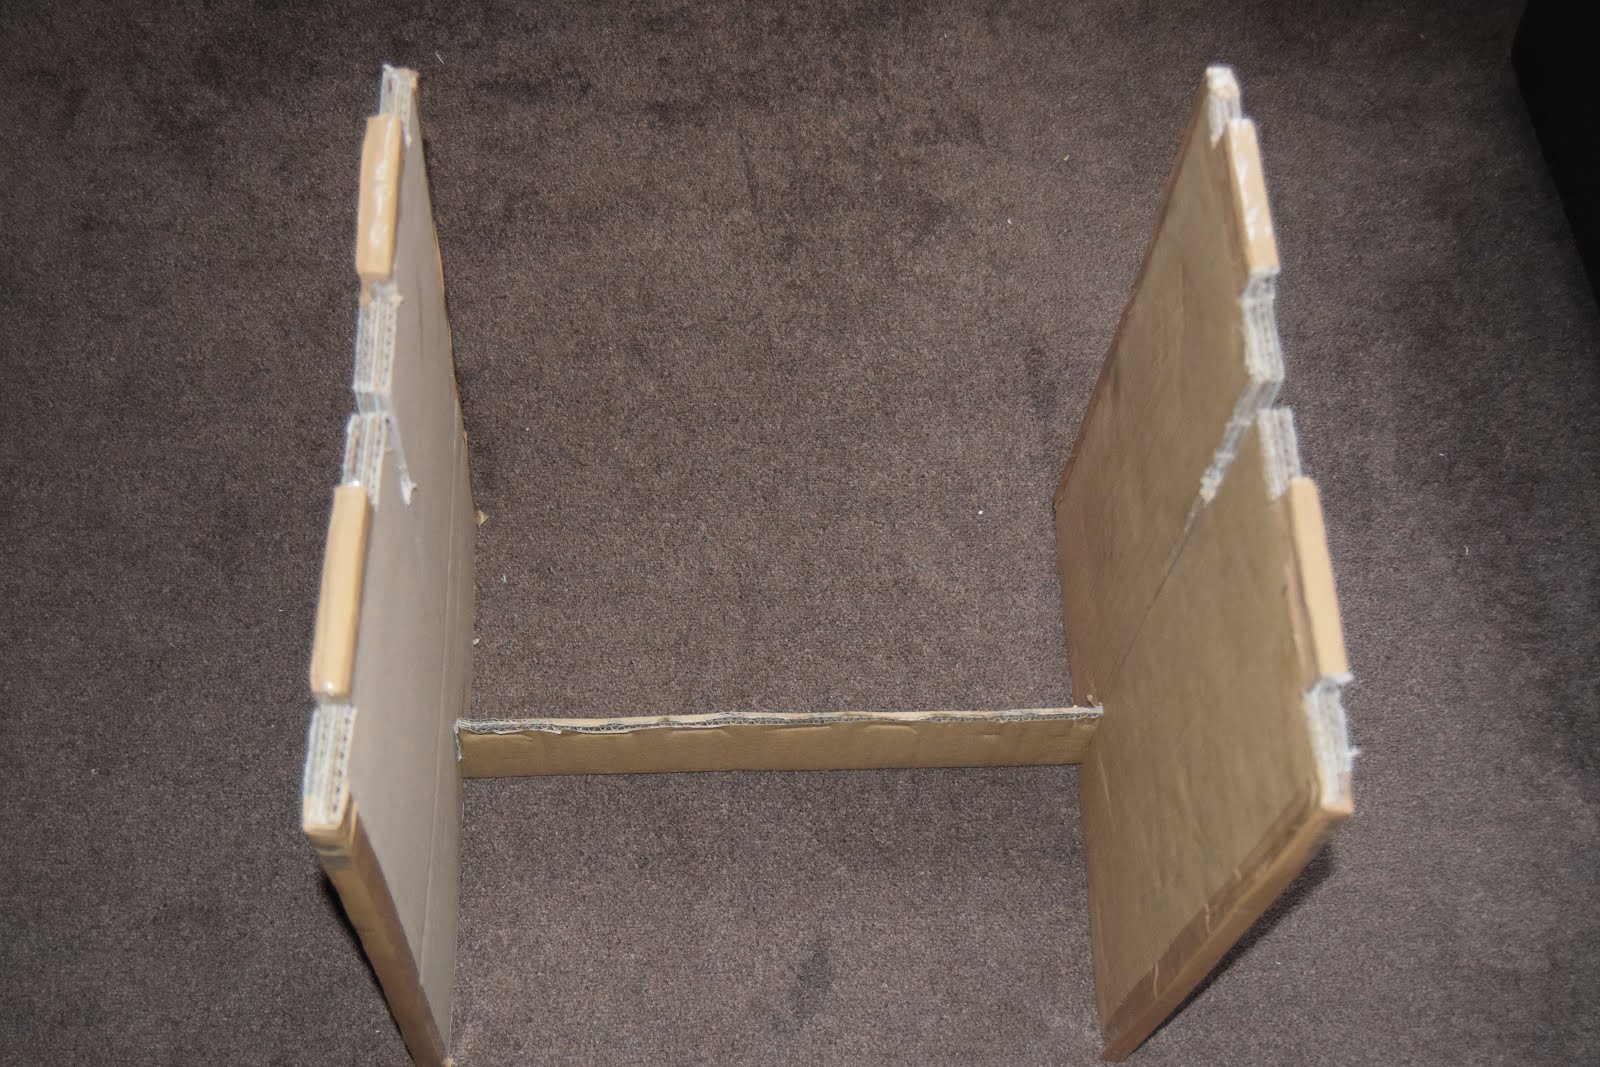
Skeleton looks like this


Again each sheet is made out of 3 layers of cardboards


Little dividers to customised sections


Customised shoe spaces, can arrange section according to requirement as , my DS's shoes keep changing so his shoe sections.


Lower section of shoe rack


After putting doors and lilttle covering up


Doors magnet 

Doors magnet 


Finished look


Finished look with 2 little drawers for socks

Finished look


Overall finished look and ready for use. Hope you like my sleek shoe rack. Thanks for looking, don't forget to subscribe my FB page to get latest post.


Thursday, 29 September 2016

Kids Calendar- DIY 5 min cardboard craft.

Hi Crafters,

Here is my new cardboard calendar with days, months of the year, days of the week, temperature, weather and seasons. Very useful for younger ones, my sons loved it.
Here is a full view of calendar.


Calendar with lots of features
Dates of the months


Things you need:-

Printouts of your choice
Scissors
Glue stick
Cardboard
Split pins 
Punching machine
Craft knife
Ruler


Print outs
Scissors
Split pins


Months of the year

Weather


Days of the week


Temperature


Season


Back side of the calendar


Thanks for looking.


Sunday, 17 April 2016

Cardboard Spiderman table for kids, DIY

Hi crafters,

Time flies, My DS has already started his schools, that means gradually he will be doing more sitting, more writing and more reading...hence time to do something big and really useful, so we ended up the idea of making a big table and decided to use his other cardboard table (I posted earlier on) for messy works like- crafts, paintings etc.


The plan was to make a table which requires little and easy assembly. So here I made 5 piece table which includes 2 walls, 2 supports and 1 top part. The fun part is you only required 3 steps to assemble the table.


Things I used:-

1) Cardboards
2) PVA glue
3) Craft knife
4) Ruler
5) Any paper for decoration, here I used Duct tape.

Thats all! 

Tips :-

1) The strength of table depends upon the quality of cardboard you are using. In this project I use 2 double sided cardboard which automatically makes it 4 single layer cardboard.

2) If you are using water based glue it is necessary to put equal wait on it.


5 pieces


2 side walls


Two support walls


Assembly step no-1


Step no- 2


Step no- 3


Table is all ready


After covering with colourful tapes 


Your table is all ready


Thanks for looking, Just let me know, if you have any suggestions for me.

Video made on  7th March 2018
Celebrating 2+ successful years of table